
03 Apr Setting Up Multiple Locations in Mailchimp for Squarespace
With restaurant groups, it is important to have the opportunity for each brand to have its own unique identity. This is especially true when it comes to marketing efforts like email marketing. With Mailchimp, a very popular email marketing platform, the ability to segment brands is achievable through Mailchimp Audiences. You can learn why email marketing is an essential part of your marketing repertoire in our previous blog here, or see a case study for email marketing in action for our client Smashin Crab here.
How To Set Up A Mailchimp Audience
For this example, we will be connecting multiple brands to the same Mailchimp account as well as setting up their data collection counterparts on the Squarespace platform. Several other Content Management Systems (CMS) have the ability to connect to Mailchimp in this fashion, with the most popular alternative being WordPress.
Using Mailchimp Audiences should only be used for separate brands, for organizing contacts within the same brand, segments and tags should be used. This is due to the fact that information such as the Sender, Reply-To, & Footer Information can be set per audience & will display differently depending on the Audience.
Step 1: Login in or sign up for a Mailchimp account.
You can sign up for Mailchimp here. This is free for those with a small number of subscribers, with paid options for those above 500 contacts.
Step 2: Creating Your First Audience
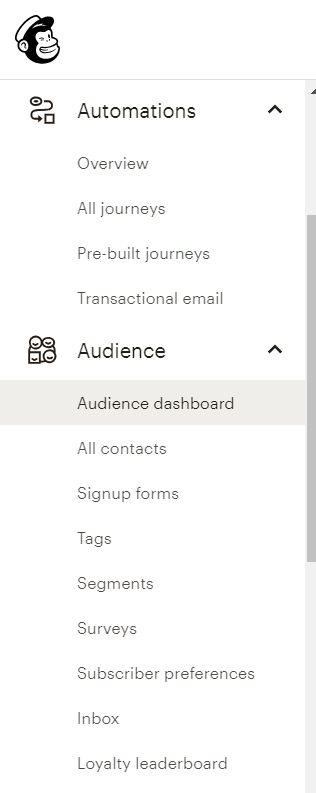
Navigate to your options panel on the left side of your screen. Under Audience select Audience Dashboard.
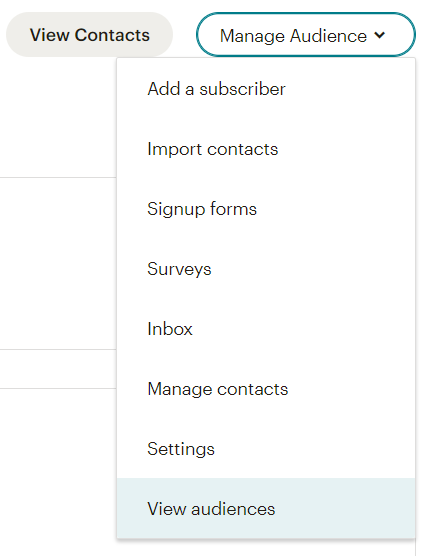
Then find the Manage Audience dropdown on the right-hand side & select View Audiences. A new screen will appear, select Create Audience in the upper right corner.

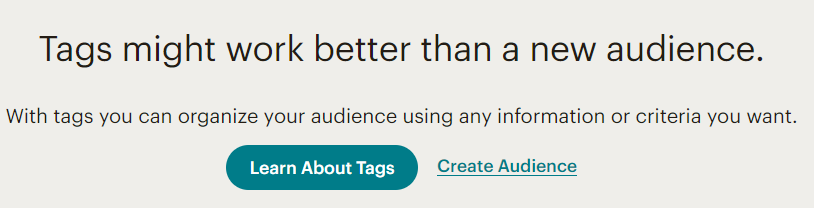
A warning will appear stating that tags may be better than creating a new audience. Note that this will not work for setting up separate lists. Select Create Audience on this screen.
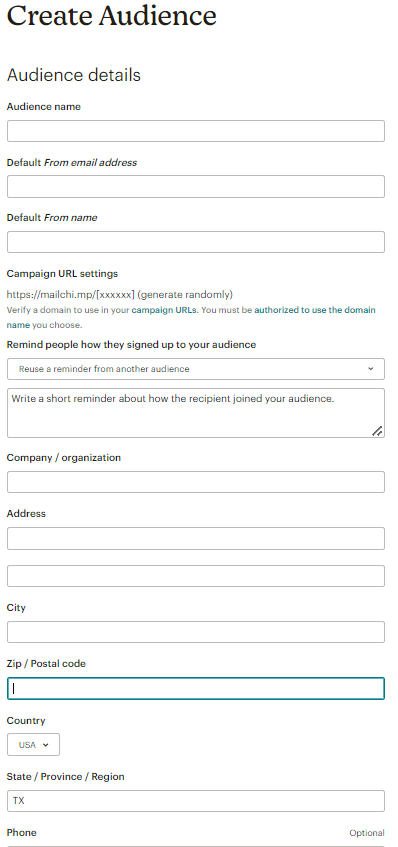
Here is where we would fill in the information for the brand. Note: Fields will default to your first audience, be sure to change the Reply Email Address, Company Name, & Address when setting up additional audiences. You can also set up your list options & notification preferences from this page. Select Save at the bottom when finished.
On the next screen, you will see the following. If you already have a subscriber list, you may add it via CSV under the Add Contacts → Import Contacts.

Connecting Your Separate Audiences on Mailchimp to Squarespace
If you already have your newsletter in place on your website & Mailchimp connected to the site, navigate to the “Connecting Your Separate Audiences” section.
In addition to having separate mailing lists, each brand will more than likely have a separate website to promote their location & connect with their customers. For our example, we will be using the popular website builder, Squarespace, and it’s native newsletter form to connect to our individual brand audiences. However, this concept will work with any website builder as long as it can be connected to Mailchimp.
On Squarespace
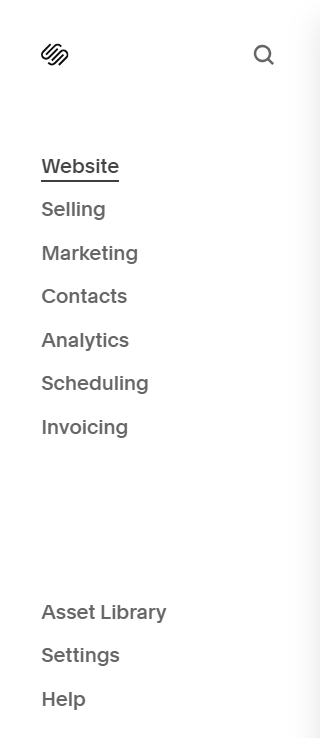
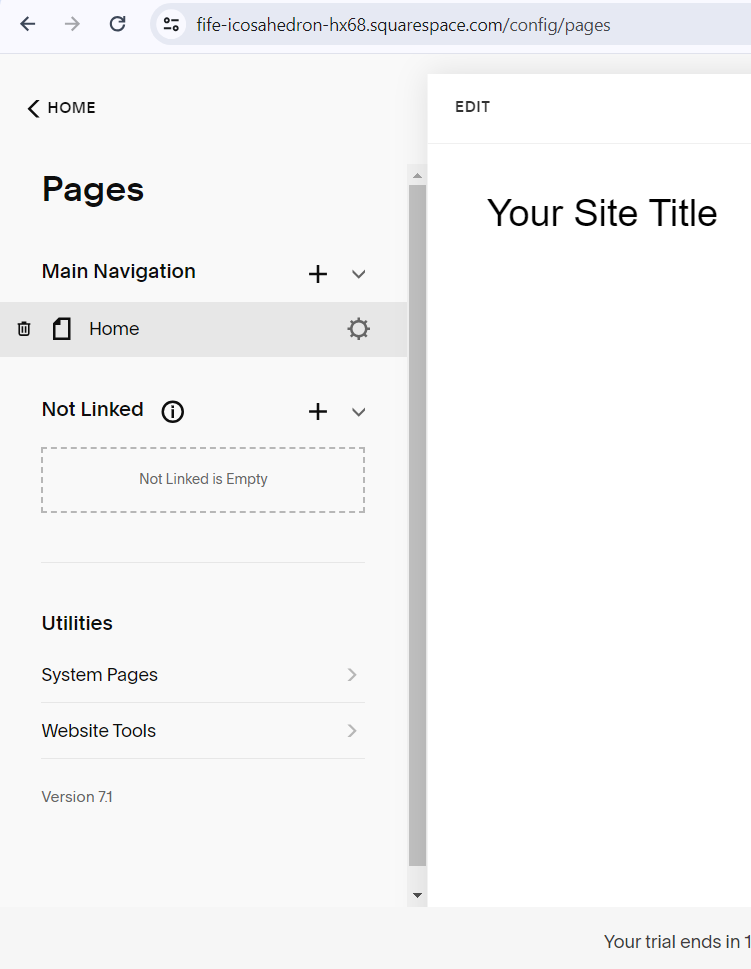
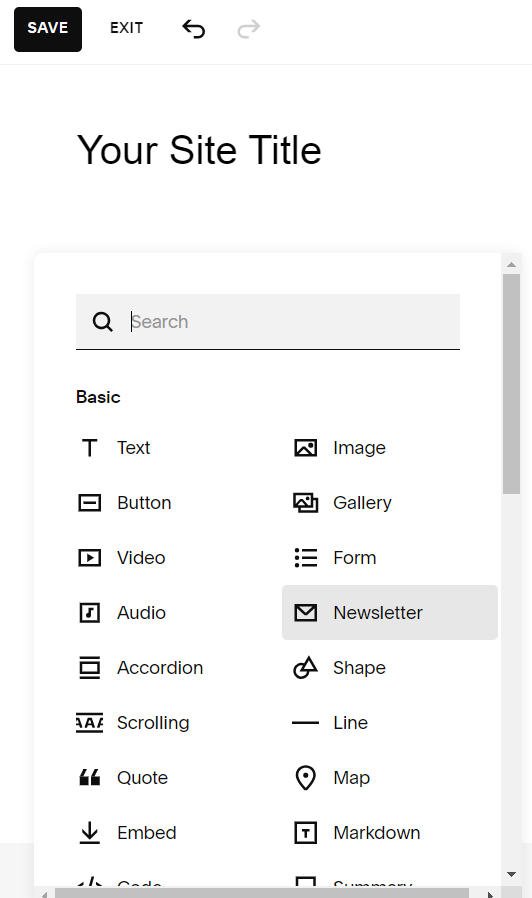
Log in to your Squarespace website or sign up for one here. Navigate to your site via the Account Dashboard & select Website from the right-side dropdown menu. From here, navigate to the page you would like your newsletter block to be on. Select Edit in the upper right corner of the page. Add a Section to your page or select a pre-existing Section you would like your new form to be. You can choose either a premade Section or a blank one. Then you will select Add a Block in the right-hand corner & select Newsletter from the list of options.
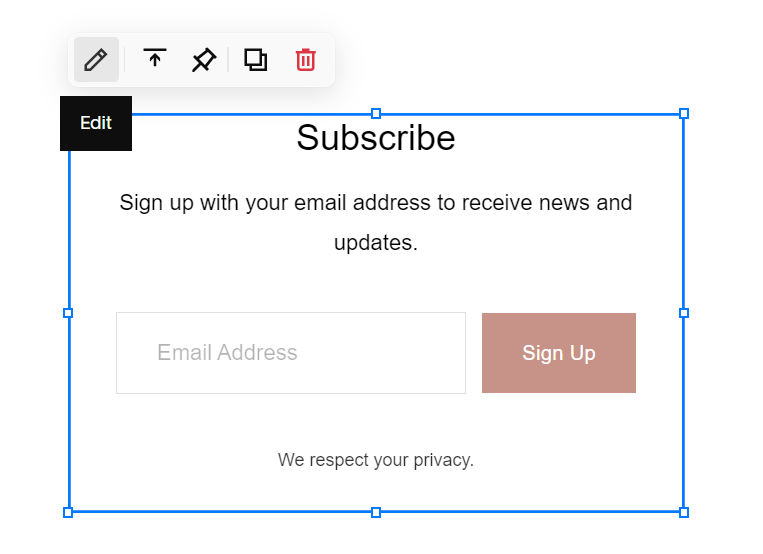
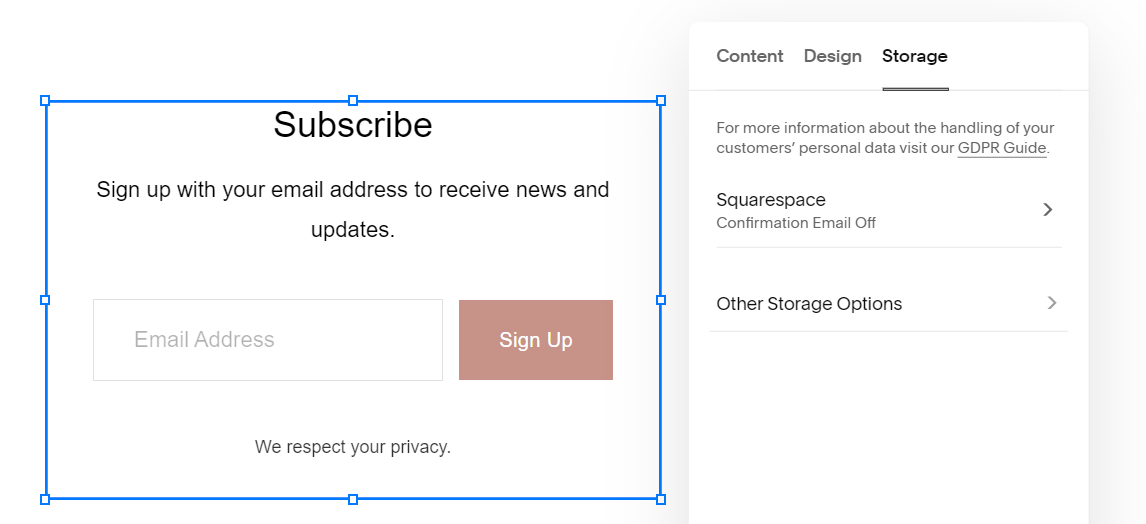
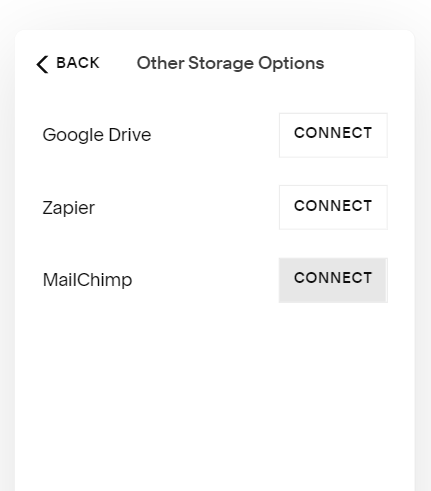
Highlight your Newsletter block & select the pencil icon on the popup menu. Here you can customize your text & connect your email address to receive notifications directly from Squarespace. Note: Squarespace does have its own internal email marketing system, however, we chose to connect to Mailchimp to house all brands under the same email marketing system for easy duplication of email templates across the brands. From this pop up we need to navigate to the Storage → Other Storage Options & select Connect next to the Mailchimp option.
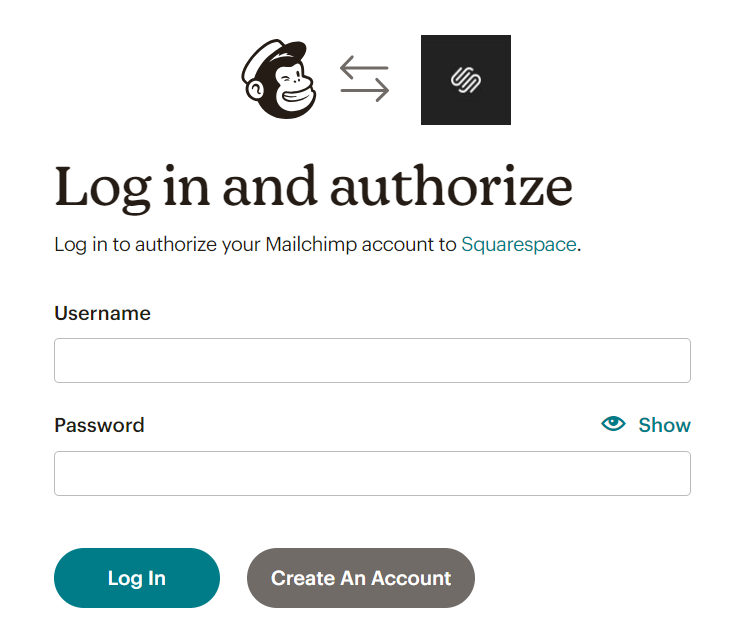
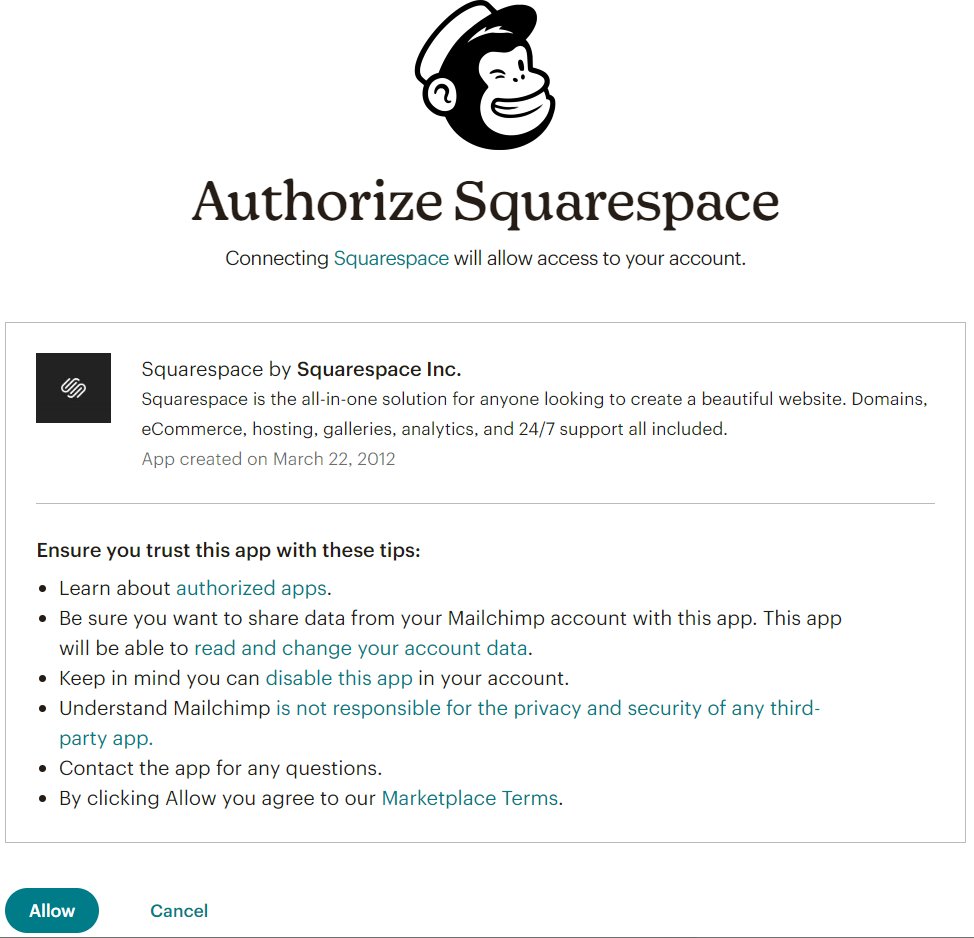
A pop up will appear where you will need to sign in to your Mailchimp & authorize the connection as shown below.
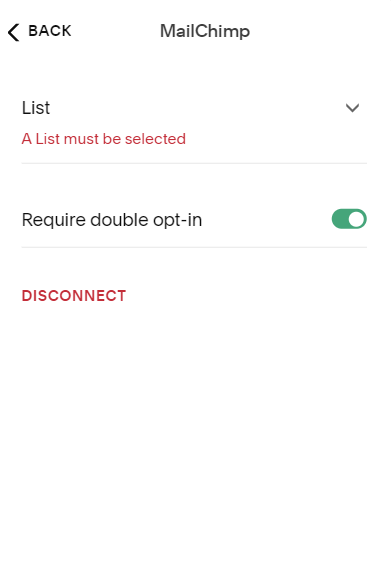
Choosing the Correct Audience
Here is where adding the 2nd Audience on Mailchimp comes in. After the connection has been made, the following will appear next to your Newsletter block. Select the correct Audience from the dropdown menu. Repeat this process for each location’s website until each audience is connected.
Sending Email Blasts to Multiple Audiences
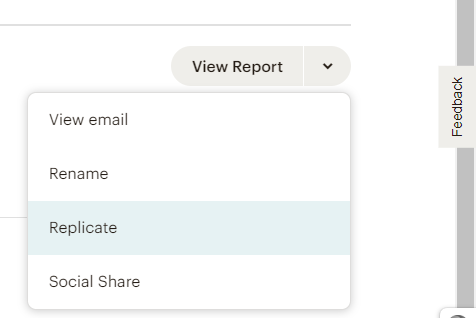
Sending multiple email blasts with Mailchimp is easy using the Replicate function. Navigate to the All Campaigns tab under Campaigns & select the email blast you would like to send to another brand.
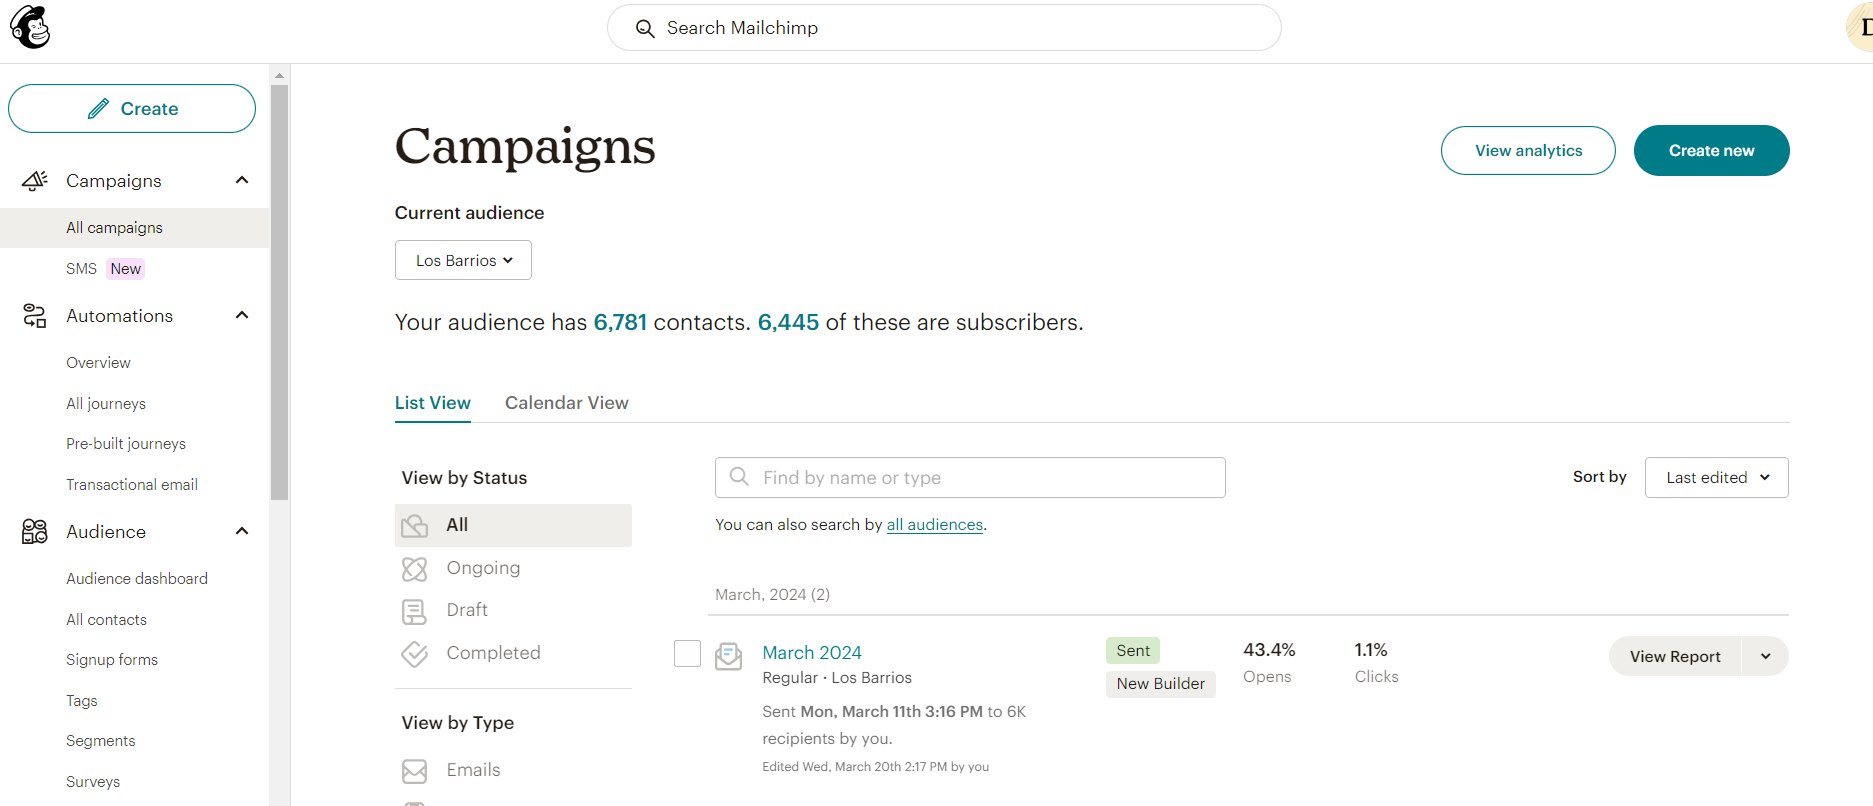
On the right hand side, select the carrot next to the View Report button & select Replicate from the dropdown menu. This will create another copy of your email blast.
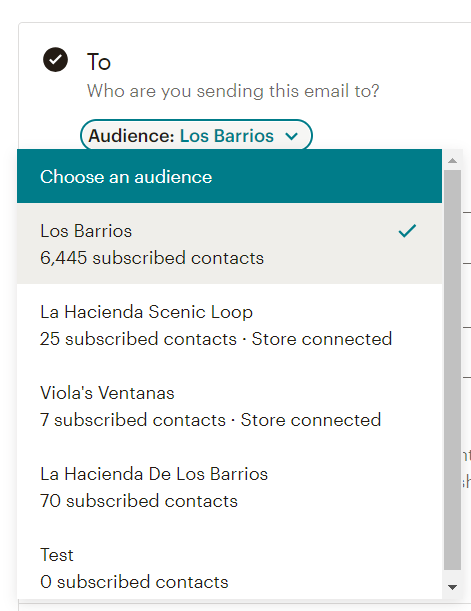
Here is where having separate audiences comes into play. From this screen, you can select a different audience under the To Field. Select Edit Recipients then the carot next to the Audiences & choose the audience you would like to create the email blast for. Select Save.
From here you can add or modify the email blast to fit with your current audience just like any other email blast. Note: the branding for the footer & logo should change based on the audience selection if they were set up during the audience setup as outlined in the How To Set Up A Mailchimp Audience section above.
Conclusion
We hope this tutorial solved the problem of how to connect multiple website signup forms to a single Mailchimp on Squarespace. This is useful for restaurant owners who would like to send multiple email blasts to separate locations under the same brand or those who have several brands under one Mailchimp account. Want to learn more about the services that Embark Marketing offers, including email blast & website management? Check out our services here or contact us here for a free consultation.